How an addition roof joins the existing roofline
Learn how a roof extension joins your existing roofline through a shed tie in, a gable with valleys, or a low slope link to prevent leaks.
- Section by Paxton Ouellette
- 7 min. reading
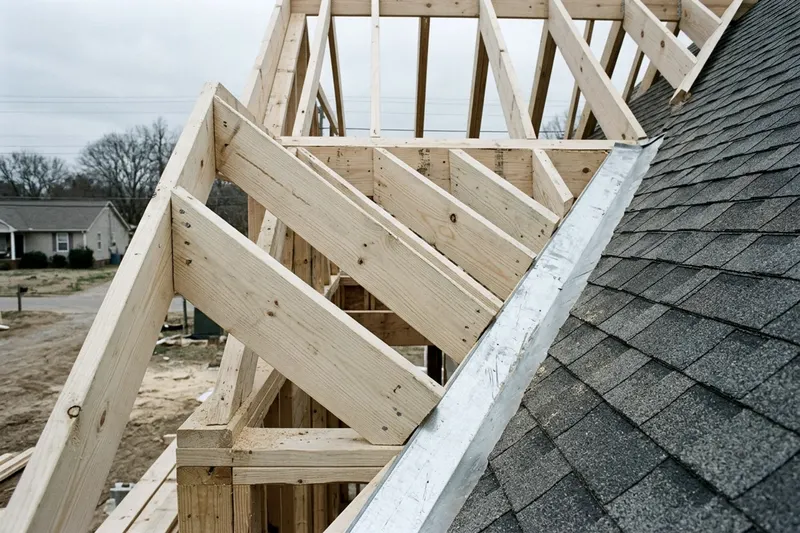
A roof extension joins your existing roofline in a few distinct ways. Builders might anchor new rafters directly to the exterior wall. They can tie a new ridge into the existing roof deck, or simply extend the current slope. The connection dictates how water sheds and where the new framing transfers its weight onto the old structure.
Four common ways an addition roof meets the house
A new roof connects to an old one based on the shape of the addition and the height of your exterior walls. Builders use four main approaches to bridge the two structures. Each approach relies on specific parts of a roof working together to shed water.
The simplest method continues the exact same slope and plane as the original roof. This can work for a straight bump out on a gable end. The carpenter extends the ridge board and adds identical rafters. The new shingles blend directly into the old ones.
A second method creates a shed roof that drops below the original eave. The new rafters attach directly to the exterior wall framing. A third method builds a new gable roof that intersects the original slope. This setup creates a valley on each side of the new roof where the two slopes meet.
A fourth method uses a flat or low slope roof. Builders use this to link structures when wall height leaves no room for a steep pitch. A low slope link acts as a flat bridge between a two-story house and a one-story addition. Each approach demands exact flashing details to keep water out of the house.
Shed roofs tied in below the main eave
A shed roof extension slopes in one direction. Builders often use this shape for a porch or a single room addition. The new roof tucks completely under the overhang of the existing house.
The top of the new shed roof attaches to a horizontal ledger board. The contractor strips away the exterior siding to expose the wood sheathing. They fasten the ledger directly to the existing wall studs with fasteners the engineer specifies. The ledger acts as the anchor point for the entire shed roof.
New rafters hang from this ledger and slope down to the new exterior walls. This approach keeps the new roof largely separate from the old roof framing. The existing roof rafters and shingles remain untouched. Water simply runs off the old eave and drops onto the new shingles.
The vertical wall space limits the slope of the new roof, because the ledger must sit below the existing soffit. The bottom edge must sit high enough to clear window headers and provide a standard ceiling height. This tight vertical space often forces a shallow pitch. A designer sets the pitch that fits, and it must stay at or above 2:12 if the roof will be shingled.
Gable tie ins and the valleys they create
A gable roof addition builds a peak that runs perpendicular to the main house. The new ridge board meets the existing roof halfway up the slope. This creates a sharp channel on both sides of the new peak. Builders call these channels valleys.

Where the new roof lands, the old shingles come off down to the deck, and the engineer's plans govern what gets fastened to it.
Valley rafters run up to the new ridge, and the engineer sizes them. The new roof may rest part of its weight on the old roof structure.
The existing rafters below the deck may have to carry this extra load, and only an engineer can confirm they can. They now support their own weight, plus the weight of the new addition roof resting on top. This complex junction needs an engineer's design and licensed carpentry. It is a core part of tying a room addition into the main structure.
Water flowing down the original roof hits the new gable, where valleys act as gutters to collect this runoff. They handle a massive volume of water during heavy rain. The cuts where the new rafters meet the valley board require exact compound angles. A poor framing job here leaves the roof wavy and prone to sagging.
Low slope links and why they need special roofing
Wall heights sometimes force a roof extension to sit almost flat. A standard pitched roof might block second story windows. It might also exceed the local height limit for an addition. A low slope link bridges the gap between the house and the addition.
Water moves slowly across a flat pitch. Wind can drive rain backward under standard asphalt shingles. Puddles can sit on the roof after a storm. Asphalt shingles require gravity to shed water effectively.
The Asphalt Roofing Manufacturers Association (ARMA) says shingles should never be applied on slopes lower than 2:12. Roofs flatter than 2:12 need a different type of roof covering, which a licensed roofer chooses.
Water can pool where a low slope membrane meets a steeper shingled roof. ARMA says where a lower slope meets a slope of 4:12 or steeper, the underlayment should extend at least 24 inches onto the steeper section. This wide overlap helps keep water that builds up at the transition from getting under the higher shingles.
Why an engineer or designer must size the tie in framing
A roof extension alters the physical load path of your house. Adding a new roof requires much more than matching the visual pitch. You are resting the weight of new lumber, plywood, and shingles on the existing structure. This constant weight is called the dead load.
Snow and wind add live loads on top of that where they apply. A structural engineer must calculate the point load where a new gable ridge lands on your old roof deck. The original rafters might carry their own shingles just fine but may sag or crack under the concentrated weight of an intersecting roof.
The engineer might specify doubling the existing rafters under the new valleys. They may require a new structural beam inside the attic. Cutting into existing roof framing can weaken it, so never cut rafters without an engineer's design. A licensed pro calculates how to reinforce the structure before any saws come out.
The local building department often requires stamped plans showing these structural connections. A roof tie in is one of the home projects needing permits in most places, so check with your own building department. An inspector may check the framing sizes and metal tie down brackets. A licensed roofer or general contractor secures the permit and schedules these inspections before hiding the wood under underlayment.
The connections matter just as much as the lumber size. The engineer's plans specify the fasteners and brackets that lock the two roofs together. High winds can create uplift forces that try to pull the new structure away. The specified connectors are what resist that separation.
Flashing, valleys and where leaks start
The tie in is a common place for an addition to leak. Wood framing shifts over time as temperatures swing. The joint between the old house and the new roof extension flexes. Water finds every tiny gap.
Metal flashing protects these vulnerable joints. When a shed roof connects to a vertical wall, the roofer installs step flashing. These L-shaped metal pieces weave over each shingle, slip behind the wall siding, and overlap the piece below them. Water hitting the wall runs down the metal, steps down the shingles, and stays out of the wood framing.
Valleys need flashing or a membrane that the roofing manufacturer's instructions allow. Installers often lay down a wide strip of aluminum or galvanized steel shaped with a crease down the center. Ice dams can form in these channels during winter. As snow melts on the upper roof, the water freezes when it hits the colder overhang below.
ARMA lists eaves, valleys and flashings as vulnerable areas where self adhered ice and water barriers help prevent leaks. Roofers apply this self adhered sheet to the deck under the roofing.
Keeping attic ventilation working across both roofs
A roof extension changes how air moves through your attic. Houses need airflow under the roof deck to expel summer heat and winter moisture. The original roof likely used intake vents under the eaves and exhaust vents at the peak.
A new addition can completely block the old eave vents. A gable tie in covers up a large section of the original roof deck. If the contractor seals off the old ventilation path, trapped moisture can damage the rafters. The trapped heat can also shorten the life of the existing shingles.
The designer may call for openings through the old roof sheathing to connect the two attic spaces, and an engineer must approve any cut into existing framing. Air flows freely from the addition into the main attic, and then escapes through the original ridge vents. If the addition attic remains completely separate, it needs its own balanced intake and exhaust vents.
Building codes set rules for this airflow. The DOE Building America Solution Center, citing IRC section R806.1, gives a minimum attic ventilation area of 1/300 of the attic area where high and low vents are balanced. A designer calculates the vent area for both attics to meet the code your building department enforces.
Workers install plastic baffles between the new rafters. These chutes stop the new fiberglass insulation from clogging the soffit vents. A clear gap helps keep the roof deck cold in winter, which can reduce ice dams on the lower eaves.
Cross references
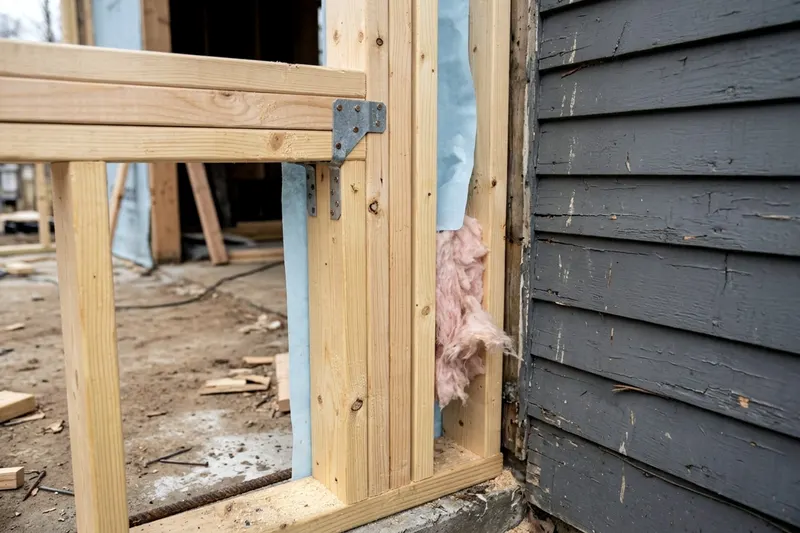 Adding On
How a room addition ties into the house you already have
Building an extension on a house requires linking the new foundations, load bearing walls and mechanical systems directly to your existing structure.
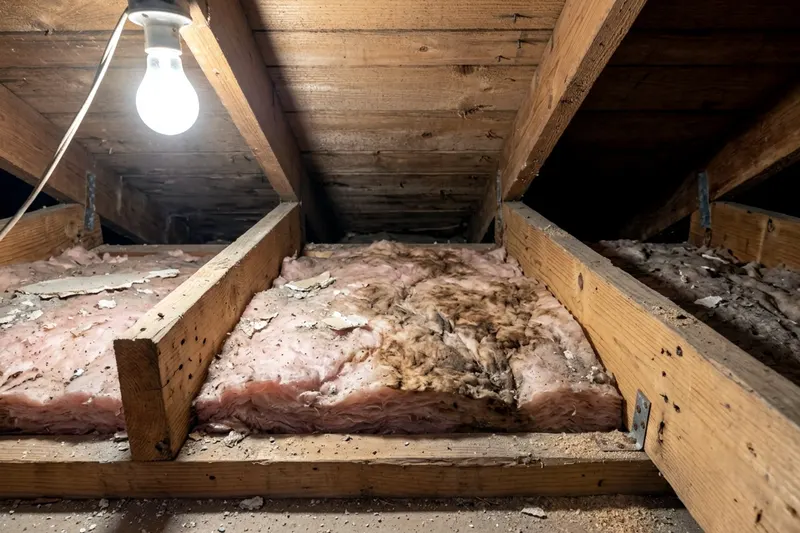 Calling a Pro
Signs old attic insulation should come out
Discover the signs that tell you when attic insulation removal is necessary and when you can simply add a new layer over the top of the old material.