5 ways to insulate exposed pipes in cold spaces
Protect your home from winter freeze damage with exposed pipe insulation applied correctly to water lines, valves, and water heaters in cold spaces.
- Section by Paxton Ouellette
- 6 min. reading

Wrap water lines in unheated areas to stop them from freezing and bursting. You can protect supply lines in crawl spaces, garages, and attics using foam sleeves, heat cables, and draft sealing. Matching the right material to the pipe helps keep the water flowing through cold weather.
1. Fit foam pipe sleeves on straight runs
Foam sleeves are a common exposed pipe insulation for long, straight runs of plumbing. The foam traps the residual heat of the water inside the pipe and slows the transfer of cold from the surrounding air. Standing water in a bare pipe can freeze quickly when temperatures drop below freezing. Foam insulation slows heat loss but does not make a pipe freeze proof.

Buy foam tubes that match the exact diameter of your pipes. Check the outer diameter of the pipe and buy sleeves labeled for that size. The insulation must fit tightly against the pipe wall. A loose sleeve allows cold air to circulate inside the foam, which defeats the purpose of installing it.
Slip the slit of the sleeve over the pipe, push it tight, and cut the foam to length using a sharp utility knife. Once the foam is in place, seal the long seam and every end joint as the sleeve maker directs. Do not rely entirely on the factory adhesive strips found on some foam tubes, as they can peel open over time. No pipe should be left bare, since a tiny gap lets freezing air reach the metal.
2. Wrap valves, elbows and odd shapes
Rigid foam tubes do not bend well around sharp corners or bulky plumbing fixtures. You need flexible fiberglass wrap or adhesive foam tape to cover elbows, tees, and shut-off valves. Bare joints are common weak spots in a plumbing system and they often freeze first. A solid run of pipe insulation for cold weather requires full coverage from end to end.
Start wrapping just before the foam sleeve ends, after cleaning the metal surface so the adhesive will stick. Overlap the tape as you wind it around the valve or fitting to provide a thick layer of protection and ensure no metal shows through the seams. Press the tape firmly to seal it directly against the brass or copper. Wear heavy gloves and a dust mask if you use fiberglass strips.
Secure the ends of the wrap with a nylon zip tie or aluminum foil tape. This prevents the material from unwinding and dropping off the pipe as the adhesive ages in a damp basement. Do not pull the tape so tight that you crush the material. Insulation relies on tiny pockets of trapped air to block cold transfer, and crushing the material lowers its effectiveness.
3. Seal the cold drafts that reach the pipes
Insulation slows heat loss, but a direct blast of freezing wind can still freeze a pipe inside an exterior wall or an unheated garage. Moving air strips heat away through convection much faster than still air. Sealing air leaks in the surrounding framing is just as important as covering the pipes themselves. When you insulate a crawl space, you have to seal the perimeter.
Find exactly where the pipes enter the unheated space through the rim joist, sill plate, or subfloor. Fill the rough gaps around the pipe holes with expanding spray foam or caulk, following the product label. The foam expands to fill the void and blocks drafts from entering the wall cavity. Wait for the spray foam to cure, then trim any excess flush with a knife.
Check for cracks in the exterior siding or missing vent covers near the plumbing runs. Blocking the wind prevents the sudden, localized temperature drops that overcome standard foam sleeves. If a pipe runs through an unconditioned attic, check the soffit vents. Ensure baffles route the cold incoming air up and over the pipe, rather than blowing directly onto the copper lines.
4. Use listed heat cable exactly as its instructions say
In severe northern climates, passive foam insulation is sometimes not enough for pipes stranded in an unheated attic or open crawl space. Electric heat pipe insulation, also known as heat cable, plugs into a standard household outlet and actively warms the pipe to prevent freezing. Many cables have a built-in thermostat that turns the heat on when the temperature drops, and the manufacturer's instructions say what outlet protection to use. Any new outlet or dedicated circuit is a job for a licensed electrician.
Buy only listed heat cables rated for your specific pipe material, whether that is metal or plastic. The U.S. Consumer Product Safety Commission says to follow the manufacturer's instructions and not to lap heat tape over itself unless those instructions allow it. Attach the cable only the way the manufacturer's instructions direct.
The CPSC warns that over insulating heat tape can cause a fire and says not to cover it with insulation unless the manufacturer advises it. If the instructions do permit a covering, they will specify the exact material. The CPSC says heat tapes and cables should be inspected each fall, and replaced if the plastic covering is cracked or there are bare wires or charring. Test the system as the manufacturer's instructions describe before freezing weather arrives.
5. Insulate hot water lines near the water heater
Adding water heater pipe insulation keeps hot water hotter as it travels to your faucets and showers. Uninsulated hot water lines shed heat into the surrounding basement air. Insulating the first section of both the hot and cold pipes connected to the unit can save energy. Covering the cold inlet pipe can also reduce condensation that drips onto the top of the tank.
Slide standard foam sleeves over the copper or PEX lines coming directly out of the tank. If you have a gas water heater, keep insulation clear of gas water heater flues per the heater's instructions. The draft hood and flue pipe can get hot enough to damage foam and create a fire risk. Read the label on your specific appliance for the exact clearance requirements.
Leave the temperature and pressure relief valve and its discharge pipe unwrapped unless the heater's manual says otherwise. This brass valve sits on the top or side of the tank and releases water if the internal pressure gets too high. These safety parts need to stay unobstructed to work in an emergency.
How to handle frozen or burst pipes
Sometimes severe weather defeats your protective measures, and if you turn on a faucet and only a trickle of water comes out, the pipe may be frozen somewhere in the house. Leave the faucet handle in the open position. Call a licensed plumber if you are not sure how to thaw the pipe safely. Never use a propane torch or open flame, which can damage the pipe or set the house framing on fire.
If a pipe cracks or bursts, shut off the main water valve to the house immediately. A ruptured line needs a licensed plumber to repair it.
If a specific section of plumbing bursts repeatedly, ask the plumber to reroute the pipes entirely. Rerouting places the supply lines inside the heated envelope of the house, which can reduce the freezing risk at the source. Relocating a pipe can involve cutting drywall and drilling through framing, which is work for a licensed plumber. Knowing how a house is framed helps you understand the path the plumber must take to run the new lines safely.
Cross references
 Building Systems
Why ducts in the attic need insulation and how much
Find out why hvac duct insulation matters in an attic, how much air bare ducts lose, and exactly what R-value you need for supply lines.
 Calling a Pro
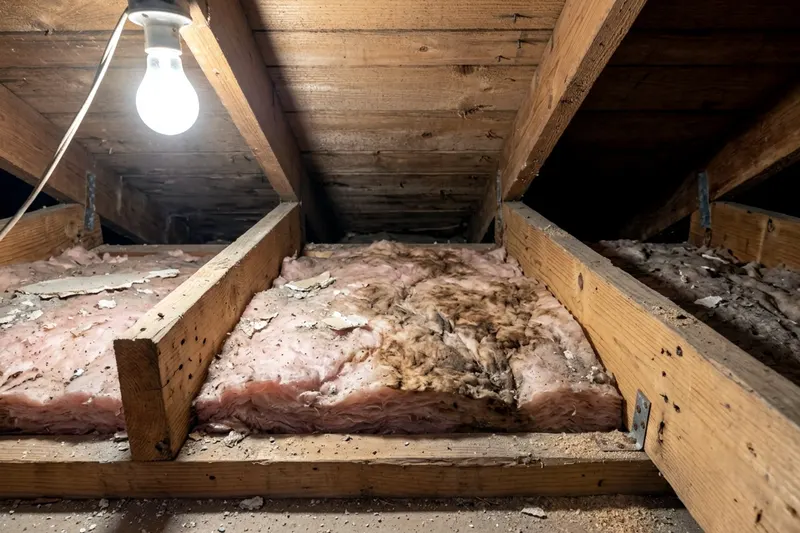
Signs old attic insulation should come out
Discover the signs that tell you when attic insulation removal is necessary and when you can simply add a new layer over the top of the old material.